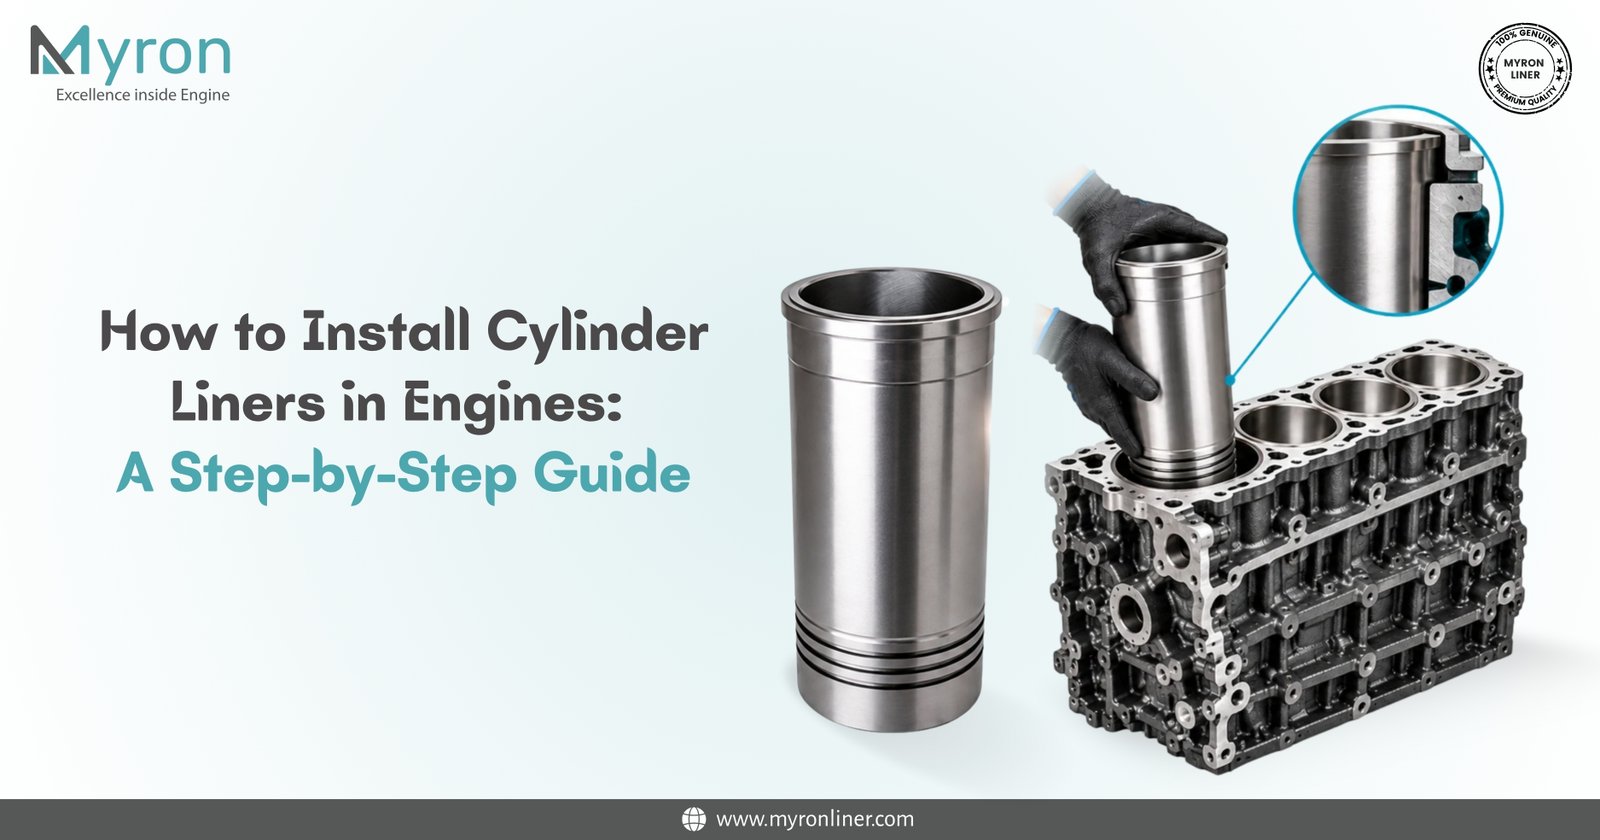
How to Install Cylinder Liners in Engines: A Step-by-Step Guide
Cylinder liners are one of the most vital engine components, playing a crucial role in protecting the engine block, enhancing engine performance, and extending the life of internal engine parts. Whether you're rebuilding an engine or working on a maintenance project, understanding how to install cylinder liners properly is essential. In this comprehensive guide, we'll walk you through the step-by-step process of installing cylinder liners in engines, along with useful tips and expert insights.
What Are Cylinder Liners?
Cylinder liners, also known as cylinder sleeves, are cylindrical engine components inserted into the engine block's cylinder bores. Their primary function is to form a durable surface for the piston to move within while also helping to retain the engine's combustion pressure. The liner also reduces wear on the engine block and ensures smooth piston movement across the cylinder wall.
There are generally two types of cylinder liners:
- Dry liners: These do not come into direct contact with coolant and are pressed into the cylinder block.
- Wet liners: These are exposed directly to coolant and often have seals to prevent leakage.
Both types are used widely in diesel and petrol engines, and each has specific installation methods.
Importance of Proper Cylinder Liner Installation
Improper installation of cylinder liners can lead to severe engine damage, loss of compression, overheating, and a drastic drop in engine performance. Installing liners accurately ensures:
- Correct piston movement
- Reliable sealing of combustion gases
- Improved heat dissipation
- Increased engine longevity
This guide focuses on the dry and wet liner installation process commonly used in aftermarket engine rebuilds.
Tools and Materials Required
Before beginning the installation, gather the following tools and equipment:
- Cylinder liner (correct size and type)
- Engine block (clean and prepped)
- Micrometer or bore gauge
- Honing tool (if needed)
- Dial indicator
- Cylinder liner puller or installer
- Clean lint-free cloths
- Lubricating oil or anti-seize compound
- Freezer (for liner contraction method, optional)
Step-by-Step Guide to Installing Cylinder Liners
Step 1: Inspect the Engine Block
Thoroughly clean the engine block's cylinder bores to remove oil, debris, rust, and old gasket material. Use a lint-free cloth and solvent. Inspect the bore visually and with measuring tools to ensure it is free from cracks and within dimensional tolerances. If necessary, re-machine the bore.
This initial inspection helps identify any flaws that could impact liner seating and engine performance. A smooth and clean surface is essential for a successful installation.
Step 2: Measure the Liner and Bore
Use a micrometer or bore gauge to measure both the cylinder liner and the engine block bore. This ensures a proper interference fit. The required liner-to-bore fit depends on the liner type and engine manufacturer's specifications. For press-fit dry liners, the specified interference fit helps secure the liner and prevent movement during engine operation.
Accurate measurements are critical to achieving a proper fit that supports the liner under pressure and heat. Double-check these dimensions to avoid costly mistakes.
Step 3: Prepare the Cylinder Liner
Check the liner for any manufacturing defects. Clean the liner thoroughly and apply the lubricant or installation compound specified by the engine or liner manufacturer before installation. If you are using the contraction method (for tight fits), For certain interference-fit applications, thermal contraction may be used to facilitate installation, but the method and temperature should follow the engine or liner manufacturer's recommended procedure.
Proper preparation ensures smooth installation and reduces the risk of damage to both the liner and the engine block. Cleanliness and lubrication are key to avoiding friction and wear.
Step 4: Insert the Liner into the Bore
Carefully align the cylinder liner with the engine block bore. Use a liner installer or a press tool to insert it gently. Apply even pressure and ensure the liner goes in straight - avoid hammering it in, as this can damage the liner and the block.
For dry liners:
- Press the liner flush with or slightly below the deck surface of the engine block.
For wet liners:
- Make sure the sealing O-rings or gaskets are in place. Lubricate them with coolant-compatible grease. Insert the liner gently and ensure proper seating.
Precision during insertion helps maintain the alignment and integrity of the engine components. Go slowly and verify alignment throughout the process.
Step 5: Check Liner Protrusion
Use a dial indicator to check the liner's protrusion above the engine block surface. This is critical for head gasket sealing. The protrusion should be within manufacturer-recommended limits (usually 0.03–0.1 mm). If the liner protrudes too much or too little, reseat or replace it as needed.
This step ensures proper head gasket contact and prevents leaks. Failing to check protrusion can result in poor combustion chamber sealing and engine inefficiency.
Step 6: Secure and Seal
For wet liners, ensure the seal rings or O-rings are properly seated and not twisted or damaged. Fill the coolant jacket partially and check for leaks. For dry liners, once seated, confirm there's no movement by tapping lightly around the top and checking sound consistency.
Proper seating and securing help prevent liner movement during engine operation and ensure reliable sealing. Proper sealing prevents coolant or oil leaks and safeguards engine performance.
Step 7: Final Cleaning and Inspection
Once the liner is in place, clean the cylinder wall and the top deck of the engine block thoroughly. Use a lint-free cloth to remove oil, debris, or metal shavings. Recheck alignment and ensure the liner is firmly seated.
A final cleaning step prepares the block for piston installation. Any debris left behind can cause scoring or premature wear of engine components.
Post-Installation Tips
- Re-hone the liner if required to achieve the specified cylinder bore dimensions and surface finish for proper piston-ring seating.
- Match piston and rings: Ensure the piston-to-liner clearance and piston-ring specifications meet the engine manufacturer's recommended tolerances.
- Re-torque head bolts: After installing the cylinder head, follow the correct torque sequence and specs.
Check coolant and oil levels: Always check for leaks before and after the engine runs for the first time.
Common Mistakes to Avoid
- Using liners without confirming dimensions
- Not checking liner protrusion
- Failing to clean the engine block and liner thoroughly
- Installing liners without lubrication
- Ignoring the importance of proper sealing in wet liners
Avoiding these mistakes can save time and money and prevent engine failure.
Benefits of Replacing Cylinder Liners
Replacing worn or damaged liners significantly improves engine performance, especially in high-mileage engines. Fresh liners:
- Restore cylinder wall smoothness
- Improve combustion efficiency
- Enhance piston ring sealing
- Reduce oil consumption and emissions
- Prolong engine life
It's a cost-effective way to refresh an engine without replacing the entire block.
Final Thoughts
Installing cylinder liners may seem like a highly technical job. Still, with proper preparation, attention to detail, and the right tools, it becomes a manageable process even for experienced DIY mechanics or engine rebuilders. Whether you're working on trucks, tractors, or industrial diesel engines, following this guide can help ensure that your engine components are fitted precisely and perform reliably.
Remember, precision is everything in engine assembly. Always double-check measurements, cleanliness, and fitment before moving forward.
Myron Liners – Trusted Manufacturer and Supplier of Cylinder Liners
If you're looking for high-quality cylinder liners that offer durability, excellent surface finish, and precise machining, look no further than Myron Liners. As a leading aftermarket manufacturer and supplier of cylinder liners, Myron Liners provides products suitable for various diesel, petrol, and gasoline engines used in agricultural, construction, and commercial vehicles.
With a commitment to quality and customer satisfaction, Myron Liners ensures every product meets strict international standards. When it comes to engine components that matter most, trust Myron Liners to deliver the performance you can rely on.
Reference:
Cylinder (engine) by Wikipedia[1].
FAQ
What is the function of a cylinder liner in an engine?
A cylinder liner forms the inner wall of the combustion chamber, providing a smooth surface for piston movement and resisting wear, heat, and combustion pressure. It protects the engine block and helps maintain compression.
What is the difference between dry and wet cylinder liners?
Dry liners do not come into direct contact with coolant and fit tightly in the cylinder bore. Wet liners are in direct contact with coolant and typically include seals to prevent leakage. Wet liners are easier to replace and offer better cooling.
How do I know if a cylinder liner needs replacement?
Common signs include excessive oil consumption, poor compression, coolant mixing with oil, engine overheating, or visible scoring inside the liner. Regular inspections during overhauls can help determine wear levels.
Can you replace a cylinder liner without removing the engine?
In some large industrial or marine engines, it may be possible to replace liners without removing the entire engine. However, for most vehicles, partial or full disassembly is required to access the block and safely install a new liner.
How to fit a cylinder liner?
To fit a cylinder liner, start by cleaning and inspecting the engine block's bore. Measure both the bore and liner to ensure proper interference fit. Lightly lubricate the liner and carefully insert it into the bore using a press tool, avoiding hammering. For wet liners, ensure O-rings are properly seated to prevent coolant leaks. Finally, check liner protrusion above the deck and inspect for proper seating before reassembly.
Reference & Trademark Disclaimer
All manufacturer names, trademarks, logos, product names, part numbers, model numbers, descriptions, and other identifying references mentioned in this article are used for identification, reference, and cross-reference purposes only.
Such references do not imply any affiliation, association, authorization, sponsorship, approval, or endorsement by the respective manufacturers or trademark owners. All trademarks, brand names, product names, part numbers, and related intellectual property remain the property of their respective owners.
MYRON LINER LLP is an independent manufacturer and supplier of engine components. The use of any third-party name or reference is solely intended to help readers identify the applicable engine, component, or application.